Ultimate Job Application Tracking Spreadsheet Guide
Let’s be honest: a job search can feel like a chaotic mess. You’re juggling different companies, unique roles, application deadlines, and interview follow-ups. A job application tracking spreadsheet is your secret weapon to bring order to that chaos, giving you a single, clear view of everything you’re working on.
Why Bother With a Job Application Tracking Spreadsheet?

The job hunt today is a numbers game. You’re up against countless online portals, constantly tweaking your resume, and sending follow-up emails. If you’re just relying on memory, a folder of bookmarks, or random sticky notes, you’re bound to let a great opportunity slip through the cracks. It’s a classic mistake that can derail an otherwise perfect job search.
The Reality of Application Volume
In this market, you have to cast a wide net. It’s not unusual for a job seeker to send out 100 to 200 applications before landing an offer. Think about all the data that creates: job descriptions, contact names, application dates, and interview schedules. Trying to keep all of that straight in your head is a recipe for disaster. If you want to dive deeper, Careerflow.ai offers some great insights on why this is so critical.
A tracker isn’t just another thing to do; it’s the command center for your entire search. It gives you the structure you need to handle the flood of information without getting overwhelmed.
Real-World Benefits of Staying Organized
Once you centralize everything, you’ll immediately see the strategic advantage. A good tracker helps you:
- Follow up like a pro: You’ll know exactly when you applied and when it’s the right time to nudge a recruiter.
- Walk into interviews prepared: Instantly pull up the original job description, the resume you sent, and all your notes on the company.
- See what’s actually working: Figure out if your best leads are coming from LinkedIn, referrals, or specific job boards.
- Lower your stress levels: Seeing your entire pipeline in one organized view gives you a much-needed sense of control.
A well-kept job application tracker shifts you from being a reactive applicant to a proactive candidate. You start managing your search like a project—with clear goals, concrete next steps, and a way to measure your progress. It’s how you make sure nothing gets missed.
How to Build Your Ultimate Job Tracker
Forget about those generic templates that never quite fit. When you build your own job application tracker, you’re in the driver’s seat. Starting with a blank slate in Google Sheets or Excel gives you the power to create a tool that actually works for your job search. This isn’t just about making a list; it’s about building your personal command center.
The real magic of a great tracker is in the columns you choose. Each one needs to pull its weight, helping you organize key info and make smarter moves. Think of each column as a different angle for viewing your progress.
Designing Your Core Columns
Alright, let’s lay the foundation. These are the absolute must-haves for any tracker. Without them, you’re basically just guessing.
A solid tracker starts with the basics. You need to know who you’ve applied to, for what role, and when. This is the bedrock of your entire system.
Here’s a breakdown of the columns I’ve found to be indispensable. Each one serves a distinct purpose, turning a simple spreadsheet into a powerful organizational tool.
Essential Columns for Your Job Application Tracker
| Column Name | Data Type | Purpose and Example |
|---|---|---|
| Company Name | Text | The organization you’re applying to. It helps you avoid accidentally applying twice. |
| Role Title | Text | The exact position. Be specific, especially if a company has multiple similar openings. Ex: Senior Product Manager vs. Product Manager II. |
| Link to Posting | URL | A direct link to the original job description. Invaluable for reviewing responsibilities before an interview. |
| Application Date | Date | Crucial for timing your follow-ups. A simple rule of thumb: follow up 7-10 business days after applying if you haven’t heard back. |
| Status | Dropdown Menu | Gives you a quick visual of your pipeline. Options: To Apply, Applied, Interviewing, Offer, Rejected. |
| Source | Text/Dropdown | Where did you find the job? Ex: LinkedIn, Referral, Company Website. This helps you see which channels are actually working. |
| Contact Person | Text | The name and email of the recruiter or hiring manager, if you have it. Makes follow-up personal and direct. |
| Next Action Date | Date | A proactive column that forces you to plan your next move. Ex: “Follow up on 6/25” or “Send thank-you note by 6/21.” |
| Notes | Text | A catch-all for important details. Ex: “Mentioned upcoming project X,” “Recruiter emphasized Python skills,” or salary info. |
This table covers the essentials, but the goal is to create a system that works for you. The more you use it, the more you’ll see what information is truly valuable for your search.
Adding Strategic Data Points
Once you have the basics down, it’s time to add a few more columns that give you a strategic edge. These are the details that separate a simple list from a tool that helps you win offers.

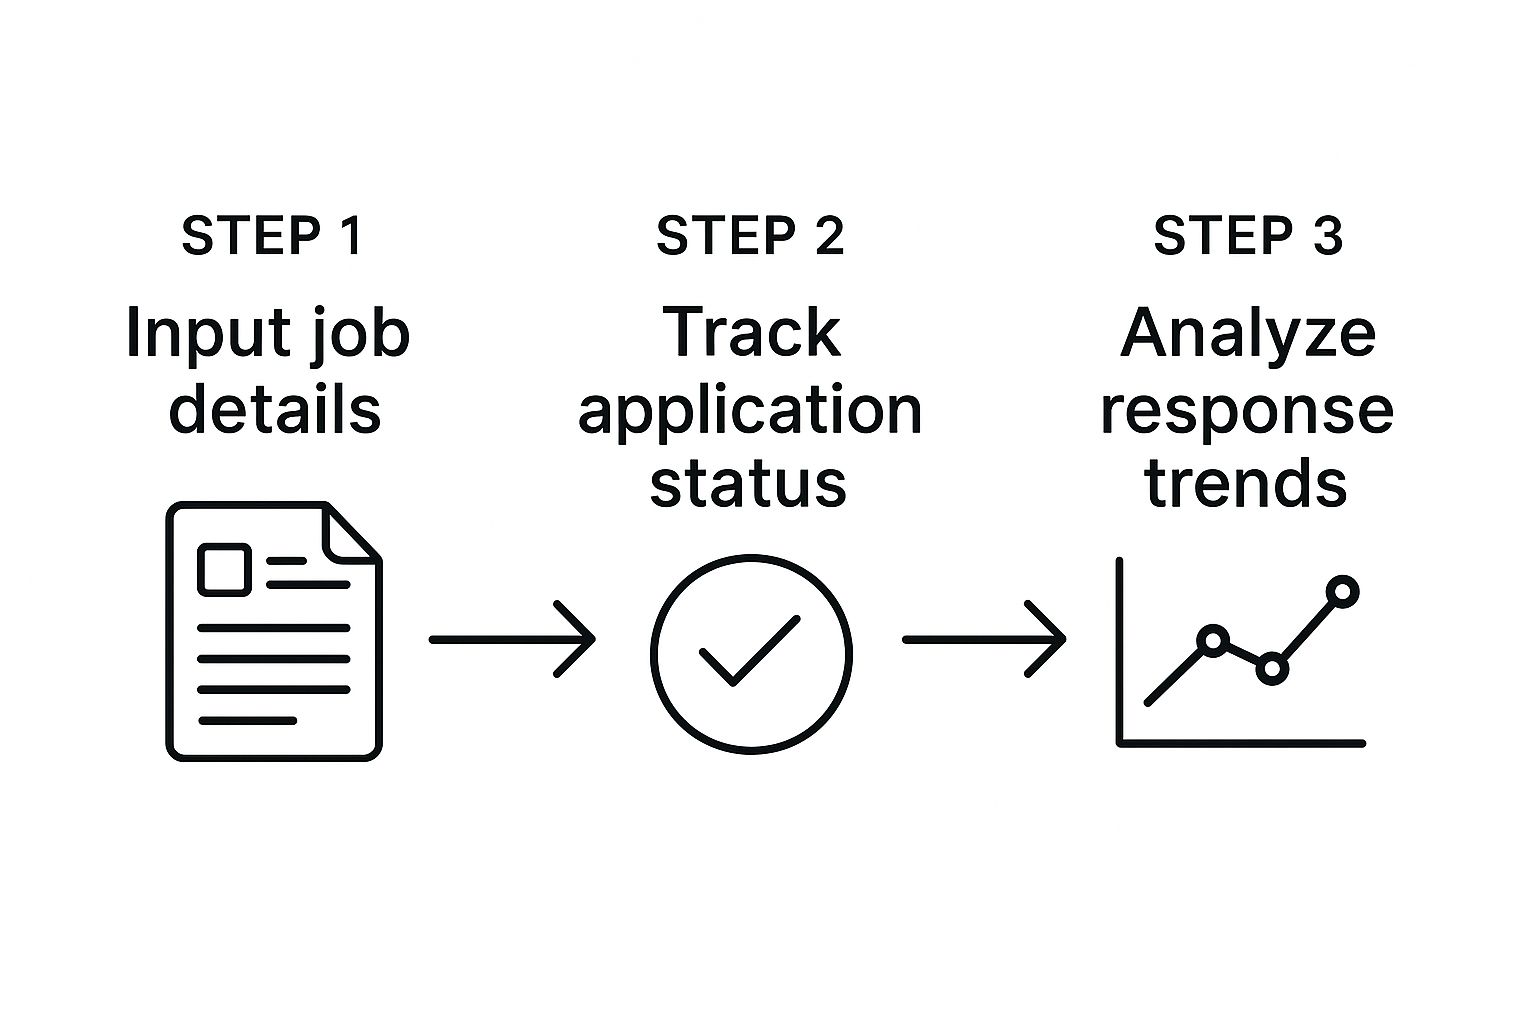
This process isn’t just about data entry; it’s about turning your actions into insights. Having a dedicated Source column, for instance, can be a game-changer. After 20 or 30 applications, you might discover that 80% of your interviews came from employee referrals, not from cold applications on massive job boards. That’s an insight you can act on immediately.
Your job tracking spreadsheet shouldn’t just be a record of the past—it should be your roadmap for the future. By tracking the right data, you can see what’s working, what isn’t, and where to double down on your efforts.
To really get granular, check out our deep dive on building a powerful job application tracker for more advanced tips.
By thoughtfully building out this framework, you’re creating more than just a spreadsheet. You’re crafting a dynamic, personal database designed to help you master the job hunt.
Turn Your Spreadsheet Into a Dynamic Dashboard
A simple list of job applications is a decent start, but it’s just that—a list. The real power comes when you transform that static sheet into a living, breathing dashboard that tells you exactly where you stand at a glance.
This is where we add a few smart features that turn a boring record-keeper into an interactive tool that practically yells at you about what to do next. Two of my absolute favorite tools for this are dropdown menus and conditional formatting. They’re game-changers.
Implement Smart Data Entry with Dropdowns
One of the quickest ways to create a mess is by manually typing your application status. Was it “Applied,” “Application Sent,” or “Submitted”? Inconsistencies like that will throw off your entire system down the line.
The fix is simple: add a dropdown menu to your ‘Status’ column. Instead of typing, you just pick from a predefined list. This small tweak guarantees your data is clean and consistent, which is crucial for making everything else work. In Google Sheets or Excel, this is done using the “Data Validation” feature.
I’d suggest starting with a simple list of statuses like these:
- Applied: The moment you hit “submit.”
- Interviewing: For any stage, from a phone screen to a final round.
- Offer: You got the good news!
- Rejected: It’s important to close the loop on these.
- Follow-Up Needed: A great proactive status to remind you to take action.
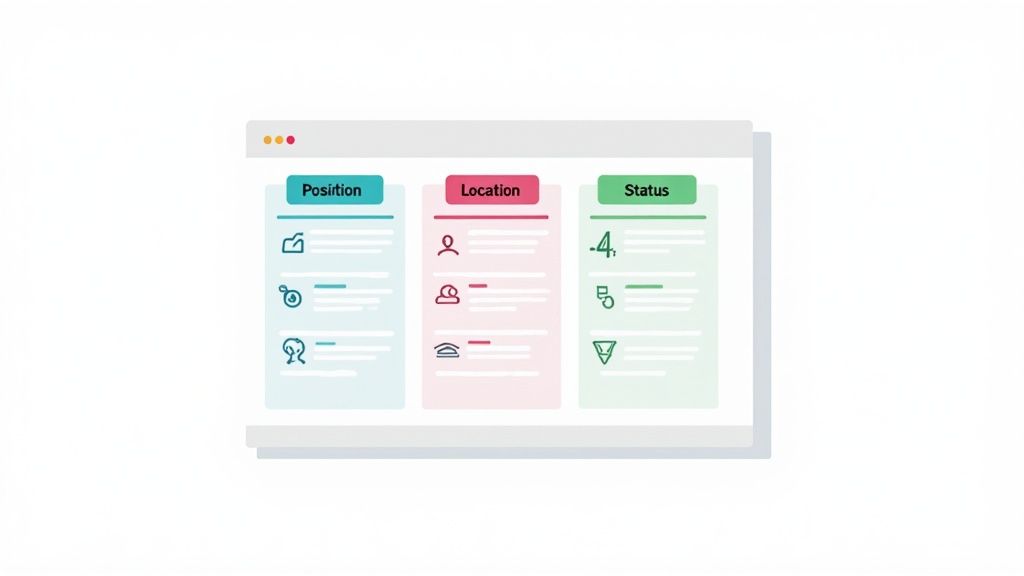
Look how much easier it is to see what’s going on when you combine this with color-coding.

These visual cues let you scan your pipeline in seconds and decide where your energy is best spent.
Make Your Tracker Visual with Conditional Formatting
Okay, this is where the magic really happens. Conditional formatting is a feature that automatically changes how a cell or row looks based on what’s inside it. It’s like setting up a bunch of “if-then” rules for your spreadsheet’s appearance.
For instance, you can create a rule that instantly turns any row with the status “Offer” a bright, celebratory green. You’ll never miss good news again.
By assigning colors to statuses, you create a visual language for your job search. A quick scan tells you everything: green means success, yellow signals action is needed, and red indicates a closed opportunity. It’s the fastest way to get a pulse on your progress.
You can also get creative. How about a rule that highlights any row in red where the “Next Action Date” has already passed? This is your built-in alarm for overdue follow-ups. Setting it up is surprisingly easy: you just define the rule (e.g., if the text in the Status column is “Interviewing,”) and then pick the formatting (e.g., make the whole row light yellow). These visual alerts are your safety net, ensuring nothing important slips through the cracks.
Making Your Tracker Part of Your Daily Routine
Let’s be honest: a great tool is useless if you don’t actually use it. The whole point is to weave your job tracker into your daily life so seamlessly that it becomes a habit, not a chore you put off until you’ve forgotten which resume you sent where.
Consistency is the name of the game here. You have to find a specific, non-negotiable time to update it every single day. For me, that sweet spot was 15 minutes every morning with a cup of coffee, right before I started browsing for new roles. This little ritual gave me the space to log anything from the day before and, most importantly, glance at my “Next Action Date” column to see who I needed to nudge that day.
Finding Your Rhythm
Your workflow needs to be dead simple and something you can repeat without thinking. Job hunting today is a numbers game, and you need that discipline to stay sane. In fact, job seekers are sending out an average of 32 applications over six months—it’s easy to see how quickly you can lose track of everything. You can actually dig into more of these job search trends on Huntr.co to see just how busy the market is.
This is why that daily check-in is so crucial. Here’s what mine looked like:
- Log Yesterday’s Apps: First thing, I’d add any applications I sent the previous day. No procrastinating on this.
- Update Statuses: Got a rejection? An interview request? I’d update the status immediately. It keeps the sheet clean and accurate.
- Set Reminders: If a week passed with no word, I’d set a “Next Action Date” to remind myself to send a polite follow-up.
Treat your tracker like your command center. It should be the first thing you open when you start your job search for the day and the last thing you close. This simple bookend routine ensures nothing ever falls through the cracks.
Turning Your Tracker Into an Interview Weapon
Here’s where the magic really happens. Your tracker isn’t just for logging what you’ve done; it’s a powerful tool for preparing for what’s next. The moment you land that screening call, your spreadsheet becomes your single source of truth.
Instead of frantically searching through your email, you can instantly pull up the link to the original job description, see exactly which version of your resume you sent, and review any notes you made about the company or the recruiter. Suddenly, your simple spreadsheet transforms from a data log into a strategic advantage, helping you walk into every single conversation feeling sharp, organized, and totally prepared.
Putting Your Tracker Data to Work: How to Job Search Smarter

Your job application tracker is way more than just a glorified to-do list; it’s your personal job search laboratory. Once you’ve logged a solid number of applications—say, a couple of dozen—you can flip the switch from simply recording data to actually analyzing it. This is the secret to turning a frustrating, spray-and-pray job search into a targeted, successful campaign.
By stepping back and looking at the data you’ve gathered, you’ll start to see patterns emerge. These patterns are gold because they tell you exactly what’s working and what’s falling flat.
For example, you can quickly calculate your application-to-interview ratio. Let’s say you’ve sent out 50 applications and only landed two interviews. That’s a 4% success rate, a number that practically screams, “It’s time to rethink my resume or application strategy.”
Digging for Actionable Insights
The real magic happens when you start asking your data specific questions. This is where you graduate from being a data collector to a data-driven job seeker, making smart decisions about where to invest your precious time and energy.
Use your spreadsheet’s filter or pivot table functions to explore these areas:
- Which sources are most effective? Are you getting more interviews from personal referrals than from blindly applying on massive job boards? If so, that’s your cue to double down on networking.
- What role types get the best response? Maybe your applications for “Marketing Specialist” roles are getting far more traction than those for “Content Strategist.” This can help you refine the keywords you use in your search and on your resume.
- Does following up actually make a difference? Compare the response rates for applications you followed up on versus those you didn’t. The data will likely give you a clear answer, and you can find great tips for crafting a powerful application follow-up email to improve your odds.
Think of your tracker as a compass, not just a logbook. By understanding your own numbers, you can stop wasting time on activities that lead nowhere and focus your efforts on the strategies that actually land you interviews. This analysis is your personal competitive advantage in a crowded market.
Got Questions? We’ve Got Answers
Even the most organized job seeker runs into questions when using a new system. Let’s tackle some of the common ones that pop up once you start putting your job application tracker to work.
Spreadsheet vs. App: Which Is Better?
This is a classic debate, and the answer really boils down to control vs. convenience.
A spreadsheet gives you total freedom. It’s free, endlessly customizable, and you can tweak every single column or formula to match your unique workflow. There are no limits and no subscription fees.
Dedicated job tracker apps, on the other hand, often have polished interfaces and slick browser extensions that make saving jobs a breeze. But that convenience can come at a price, either through a monthly fee or limitations on a free plan. For most people, a well-built spreadsheet offers all the muscle they need without the extra cost.
How Often Should I Update My Tracker?
Consistency is everything. To make your tracker a truly powerful tool, you need to make updating it a daily habit.
Carve out just 10-15 minutes every day to log new applications and update the status of existing ones. Doing this consistently means your tracker is always an accurate, real-time picture of your job search, and you won’t forget important details.
If you fall behind, don’t sweat it. Just block off a half-hour to catch up by reviewing your sent emails and job board activity, then get back into the daily routine.
If you’re going to focus on anything, make it the ‘Status’ and ‘Next Action Date’ columns. The status gives you a quick overview of your entire pipeline, while the next action date tells you exactly what needs your attention, ensuring no opportunity slips through the cracks.
Wondering if when you apply matters? It can. While your tracker keeps you organized, knowing the best day to apply for a job can give you a strategic edge and might even boost your visibility with recruiters.
Ready to stop juggling applications and start landing interviews? With Jobcamp, our AI-powered platform generates customized resumes and cover letters in seconds, helping you apply faster and smarter. Try Jobcamp for free and accelerate your job search today!

